CANtact Pro User Guide
CANtact Pro is available from CrowdSupply
Getting Started
Thank you for buying a CANtact Pro 🙂
To start using CANtact, connect it via USB. Before using, you should update to the latest firmware following the instructions in this document.
After updating, the device will work on Linux via SocketCAN. For details, see SocketCAN.
On all platforms, you can install the CANtact CLI. For details, see CANtact CLI.
For more information on software support, see Software Tools.
Features & Specifications
- 2x CAN Interfaces
- 1x CAN/CAN-FD/SWCAN
- 1x CAN/CAN-FD
- High Speed USB interface (480 Mbit/s)
- Isolation between CAN and USB
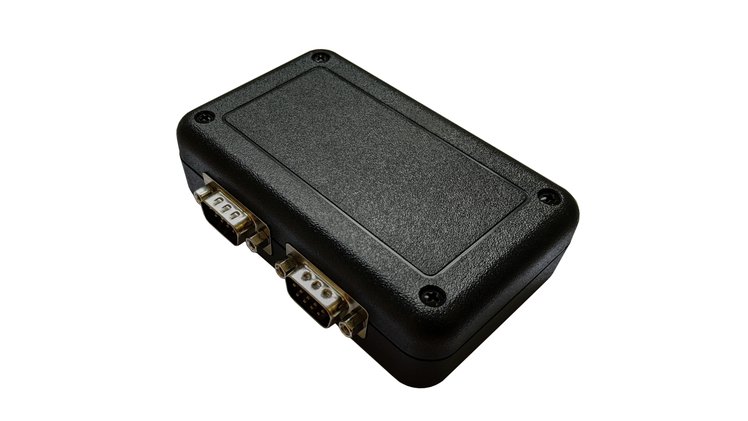
- Industry standard DB9 connectors
- Software support for Windows, macOS, and Linux
- Cross-platform USB driver, command line interface, and APIs:
- Python (via python-can)
- C / C++
- Rust
- ETAS BUSMASTER support on Windows
- SocketCAN support on Linux
- Cross-platform USB driver, command line interface, and APIs:
Pin Assignments
| Pin | Function | CAN 0 Only? |
|---|---|---|
| 1 | ||
| 2 | CAN - | |
| 3 | GND | |
| 4 | SWCAN | Yes |
| 5 | ||
| 6 | GND | |
| 7 | CAN + | |
| 8 | ||
| 9 | +12 V In | Yes |
Note that single-wire CAN is only available on the CAN 0 connector.
LED Indicators
The device has four LEDs, two for each CAN channel. When powered on, the LEDs will blink in sequence. The LED indications during normal operations are shown here.
| Color | State | Meaning |
|---|---|---|
| Green | Solid | channel enabled, no activity |
| Green | Blinking | receive activity |
| Red | Solid | channel transmit enabled, no activity |
| Red | Blinking | transmit activity |
When using SocketCAN, each CAN interface can be identified by blinking the corresponding LEDs using ethtool. This is especially useful when using multiple devices.
sudo ethtool --identify can0
Configuring Permissions on Linux
By default, root privileges are required to interact with the device. To allow other users to access the device,
create a file at /etc/udev/rules.d/99-cantact.rules:
SUBSYSTEM=="usb", ATTRS{idVendor}=="1d50", ATTRS{idProduct}=="6070", MODE="0666"
After creating the file, reload the udev rules:
sudo udevadm control --reload-rules
sudo udevadm trigger
This will make the device accessible to all users.
Flashing Firmware
- Download the newest firmware binary from Github.
- To enter bootloader mode, hold down the button beside the USB connector while connecting the device to your computer.
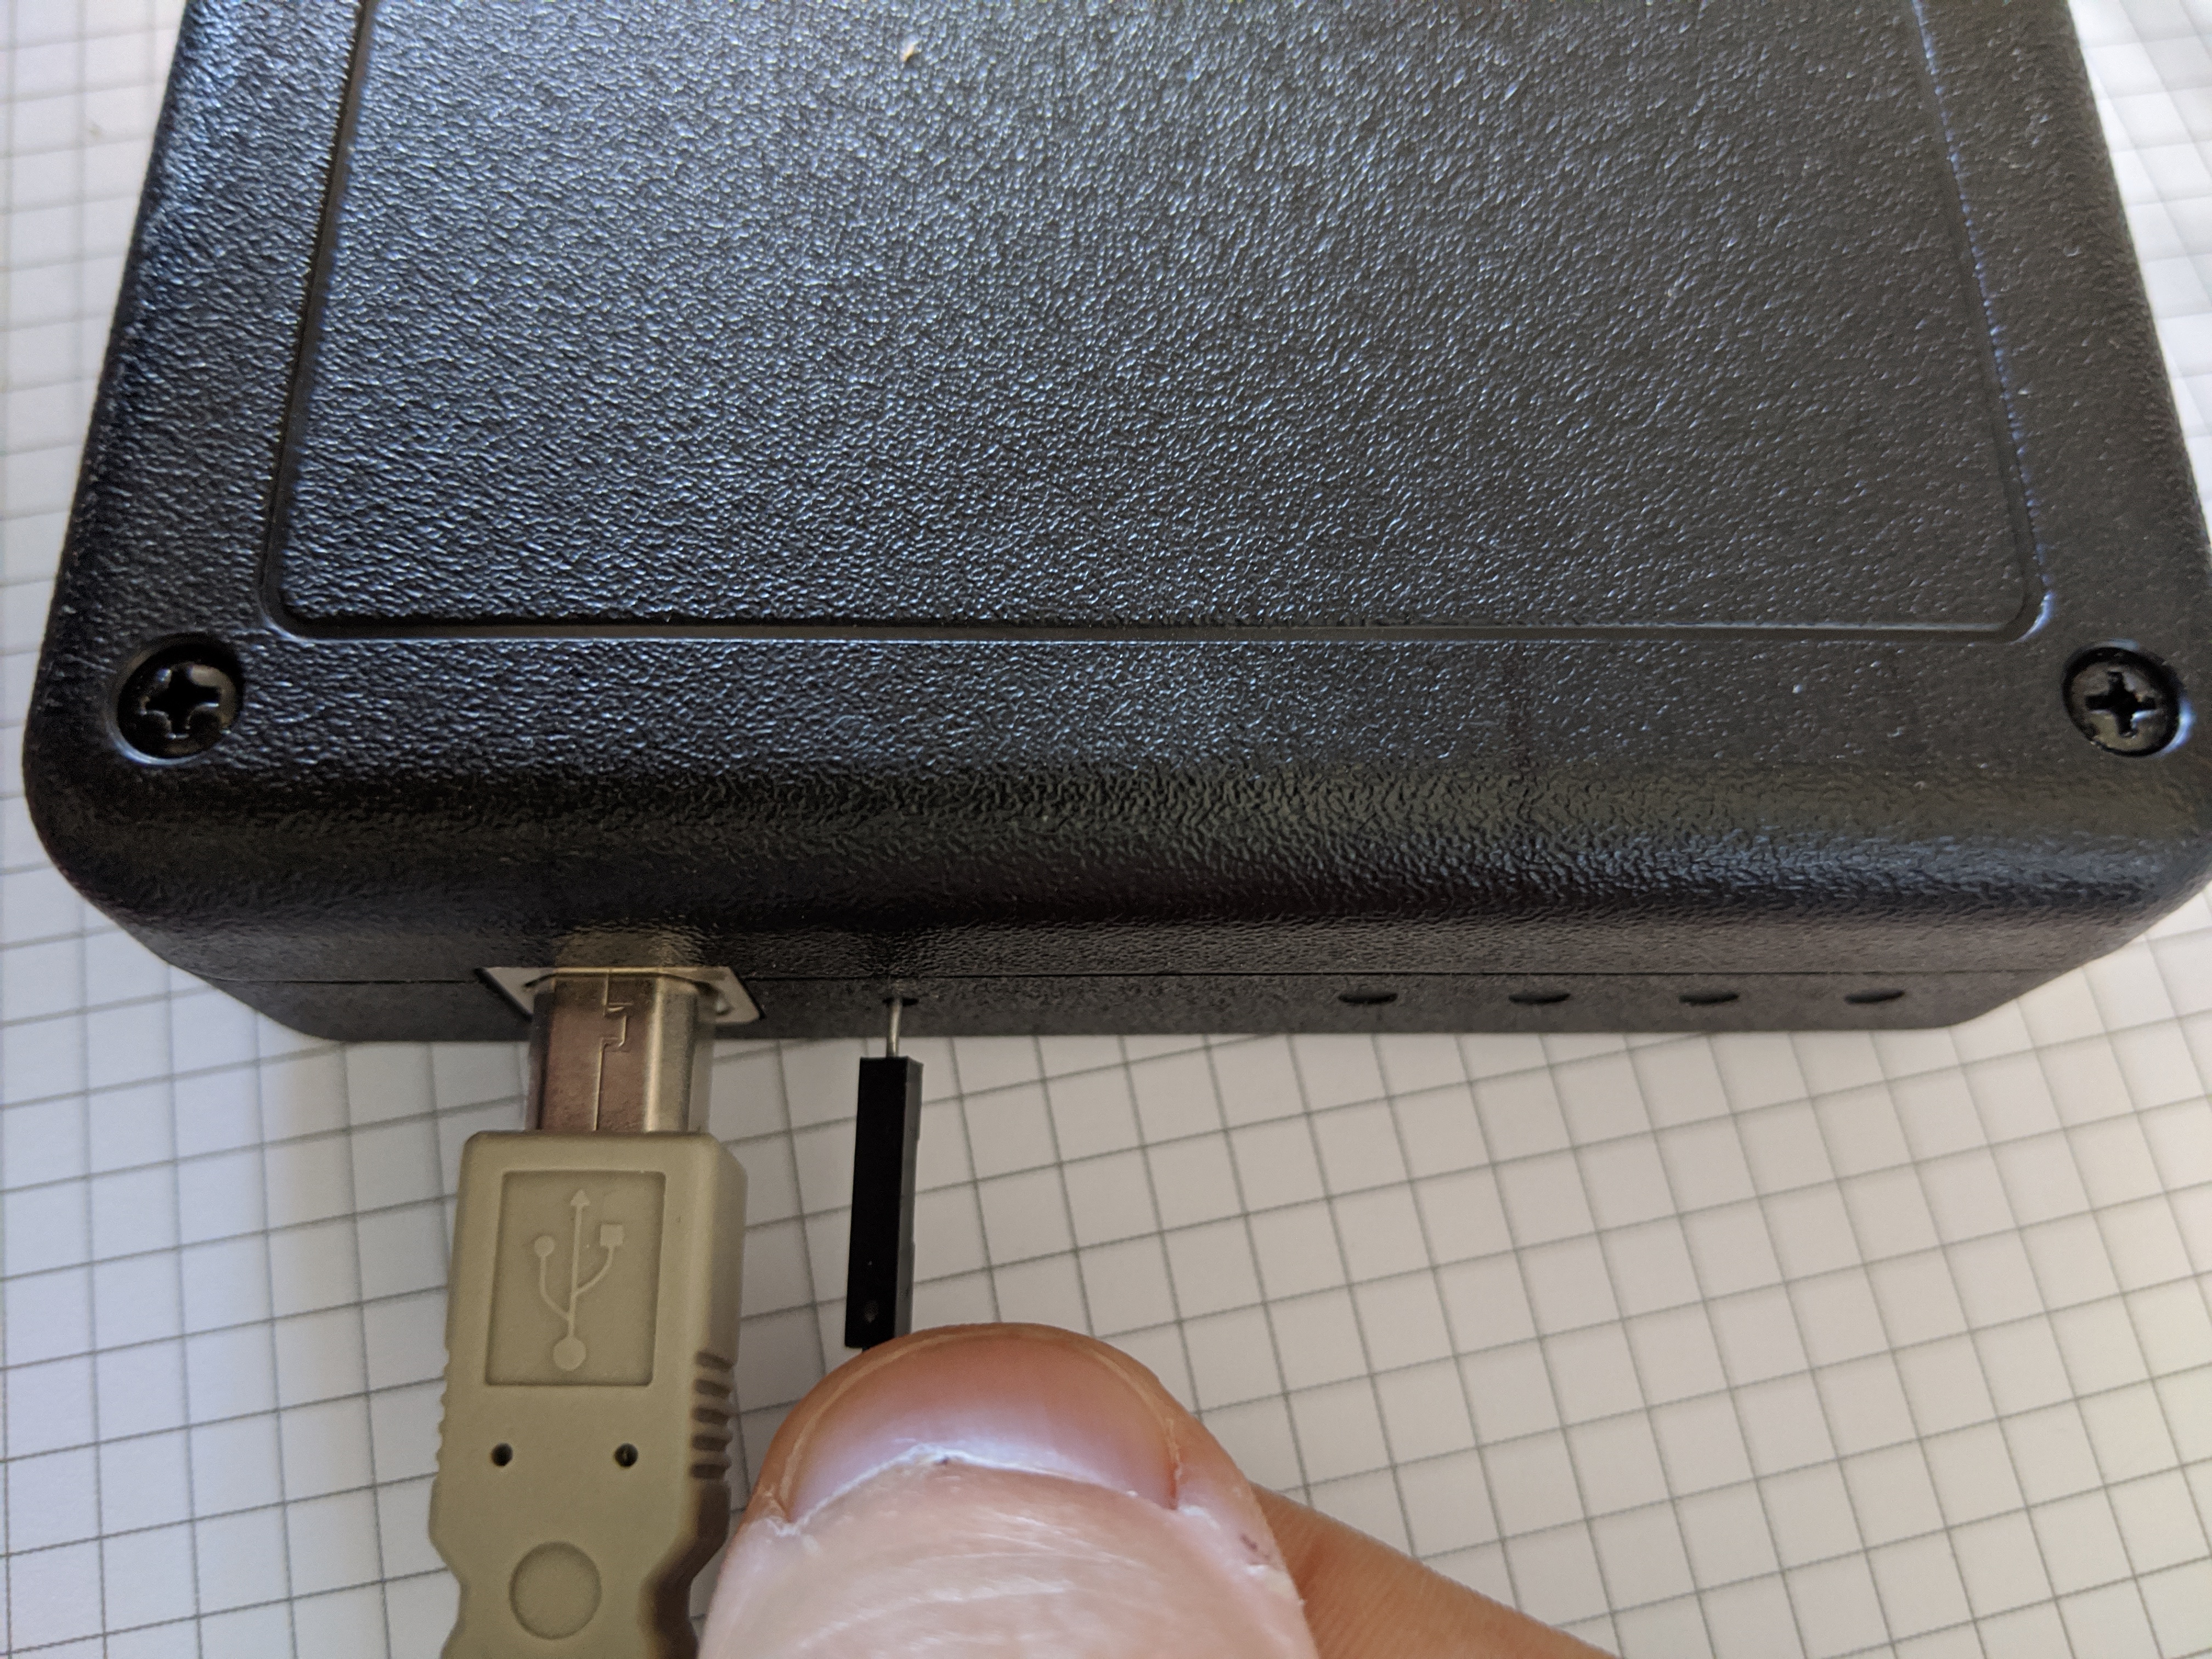
The device will appear as a USB Mass Storage device with the label CRP DISABLD. Open the device. It should contain a single file: firmware.bin.
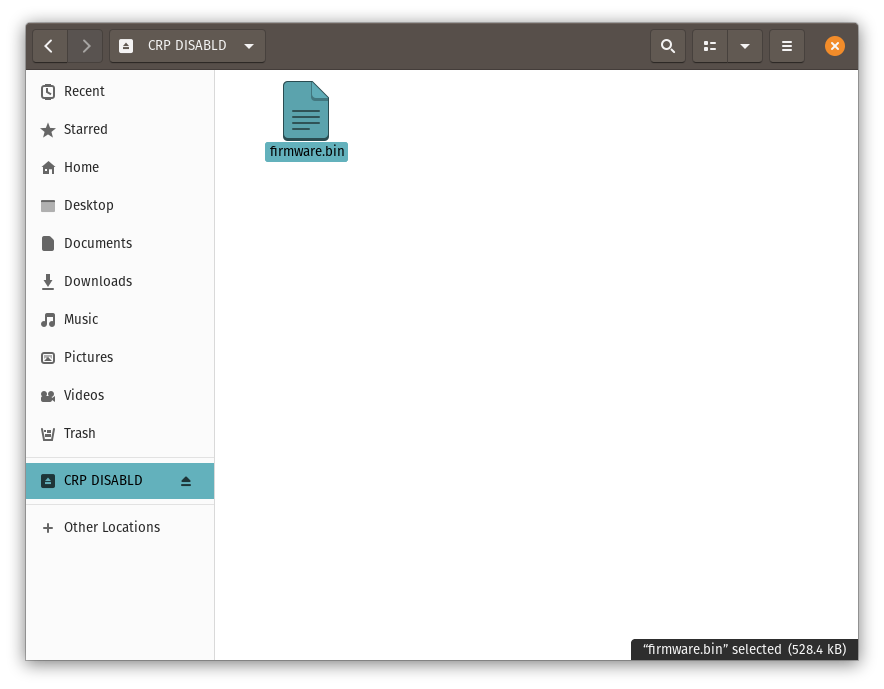
- Delete the
firmware.binfile from the device. - Copy the downloaded
firmware.binfile to the folder. - Eject the device
- Unplug and reconnect the device. The firmware update is complete!